Showing posts with label Project Sunshine and Smiles. Show all posts

Saturday, September 3, 2011

September's 100 Cartridge Blog Hop ~ Part 2

This is the 2nd part of the 100 Cartridge Blog Hop. Check out Part 1 here.

For these cards I used a black CRI-Kits gel pen for the images on my cards. If you have never used CRI-Kits, check out their website to learn how. Instead of using your blade, you use gel pens to draw the image on the paper. At first I was scared to buy gel pens because I always ended up with some that wouldn't write, but I love these. They work really well and I didn't have any problems with them.

I created these cards for Project Sunshine and Smiles and hopefully the kids understand that they can color the card. I wanted to do something different and I remember getting a Valentine's card a long time ago that was black and white and I had so much fun coloring it.
Materials Used
Cartridge: Pooh and Friends
Stamp:Everyday Life by My Pink Stamper
Other: CRI-Kits black gel pen


Materials Used
Cartridge:Hannah Montana
Stamp:Buggy Punnies by My Pink Stamper
Other: CRI-Kits black gel pen

Materials Used
Cartridge:Hannah Montana
Stamp:Punny-licious by My Pink Stamper
Other: CRI-Kits black gel pen

*******************
***GIVEAWAY***
*******************
How can you win?
*Leave your name and email address in a comment in order for me to be able to contact you if you win.

*Comment on both posts to have a higher chance of winning.

*You do not have to be a follower, but I would love it if you were :)

**Check back on Tuesday, September 6 to see if you are the winner**

I will use Random.org to select a winner.

Thanks for stopping by! Your next stop is Amanda's blog, Crafts by Amanda.

Tuesday, August 23, 2011

Squish Spinner Card

I had so much fun making a Spinner Card and I am going to show you how fast and easy it was to make one.
This is how I made the card...
*I used the Create a Critter cartridge and cut the water that is used for the fish bowl at 6 1/2 inches
*Then I used my Gypsy to add the cut where my "spinner" is going to go using a tag from Tags, Bags, Boxes & More (You don't have to use the Gypsy, but I did because I was having trouble centering the tag where I wanted it with the Cricut)
*Since the water is in a shape of a bowl, I flipped the water over and traced using a pencil on the card, so that I can cut the water the size that I needed
*Here you can see the pencil marks. Then I used my paper cutter to cut out the extra.
*I then used the same sand from the fish bowl and cut the image at 7 inches. I also had to cut out the extra sand that wasn't needed. I used the Polka Dots embossing folder to add texture.
*Flip the cut to the back and add dimensionals. You have to add the dimensionals because if you tape it/ glue it down, the spinner won't spin. (If you don't have any dimensionals, I usually find them in the dollar store in the home goods section. They are called Foam Mounting Squares or Circles. I really like them because they are really thick and sticky and plus you get 200 squares for $1!)
*Now for the fun part~making the spinner. All you need is 2 pennies and 2 circle dimensionals. Stick 1 dimensional to 1 penny.
*Now place the other penny on top of the one with the dimensional. (Doesn't it look like an Oreo cookie? :P )
*Place the spinner between your cuts.
*Add your second dimensional to the top of the penny.
*Add your image/cut on top of the dimensional and you are done!
Here are the 4 cards that I made for Project Sunshine and Smiles. If you have any questions or need some more help, feel free to email me or leave a comment asking me your question.  
Have a wonderful Tuesday! Today is my 3rd day of Student Teaching :)

Materials used:
Cartridges: Create a Critter (water cut at 6 ½ inches, sand cut at 7 inches, octopus cut at 2¾ inches, and the plants cut at 2 and 3 inches)

Tags, Bags, Boxes & More (tag)
Stamp: Buggy Punnies by My Pink Stamper
Other: Polka Dots Cuttlebug embossing folder
Cards made so far for Project Sunshine and Smiles: 108

Monday, August 15, 2011

Project Sunshine and Smiles: Disguise

This is the last card I made for Project Sunshine and Smiles yesterday. I wish that I had more time to make a lot more, but I just started school last week and I was busy with homework/family this weekend. Next Monday I start my 1st day of Student Teaching! I can’t wait to meet all of the 3rd graders who I am going to be teaching for 2 months!
This bird just made me smile :)
Materials used:
Cartridge: 3 Birds on Parade (bird cut at 4 1/2 inches)
Other: Broken China Tim Holtz Distress Ink by Ranger
           Glossy Accents by Ranger (used it on the sunglasses)
Cards made so far for Project Sunshine and Smiles: 104

My Pinkalicious Blog Hop Friday (August 2011)/ Project Sunshine and Smiles

I have missed sharing my creations on Robyn’s, My Pink Stamper website, so I was excited that it was finally My Pinkalicious Blog Hop Friday. The challenge was to…
Show us YOUR style making your favorite thing!  This could be your favorite color combo, your favorite Cricut cartridge, your favorite technique, etc.  You get it, right??  Just have FUN with this and NO stress!!
I decided to use the butterfly from Once Upon a Princess because it's one of my favorite butterflies and of course I used my favorite color, PINK! I made 4 more cards and I reached my goal of making 100 cards for Project Sunshine and Smiles!!!
Materials used:
Cartridge: Once Upon a Princess (butterfly cut at 3 1/2 inches)
Paper: Simplicity by the Paper Studio

Other: Worn Lipstick Tim Holtz Distress Ink by Ranger

Cards made so far for Project Sunshine and Smiles: 100

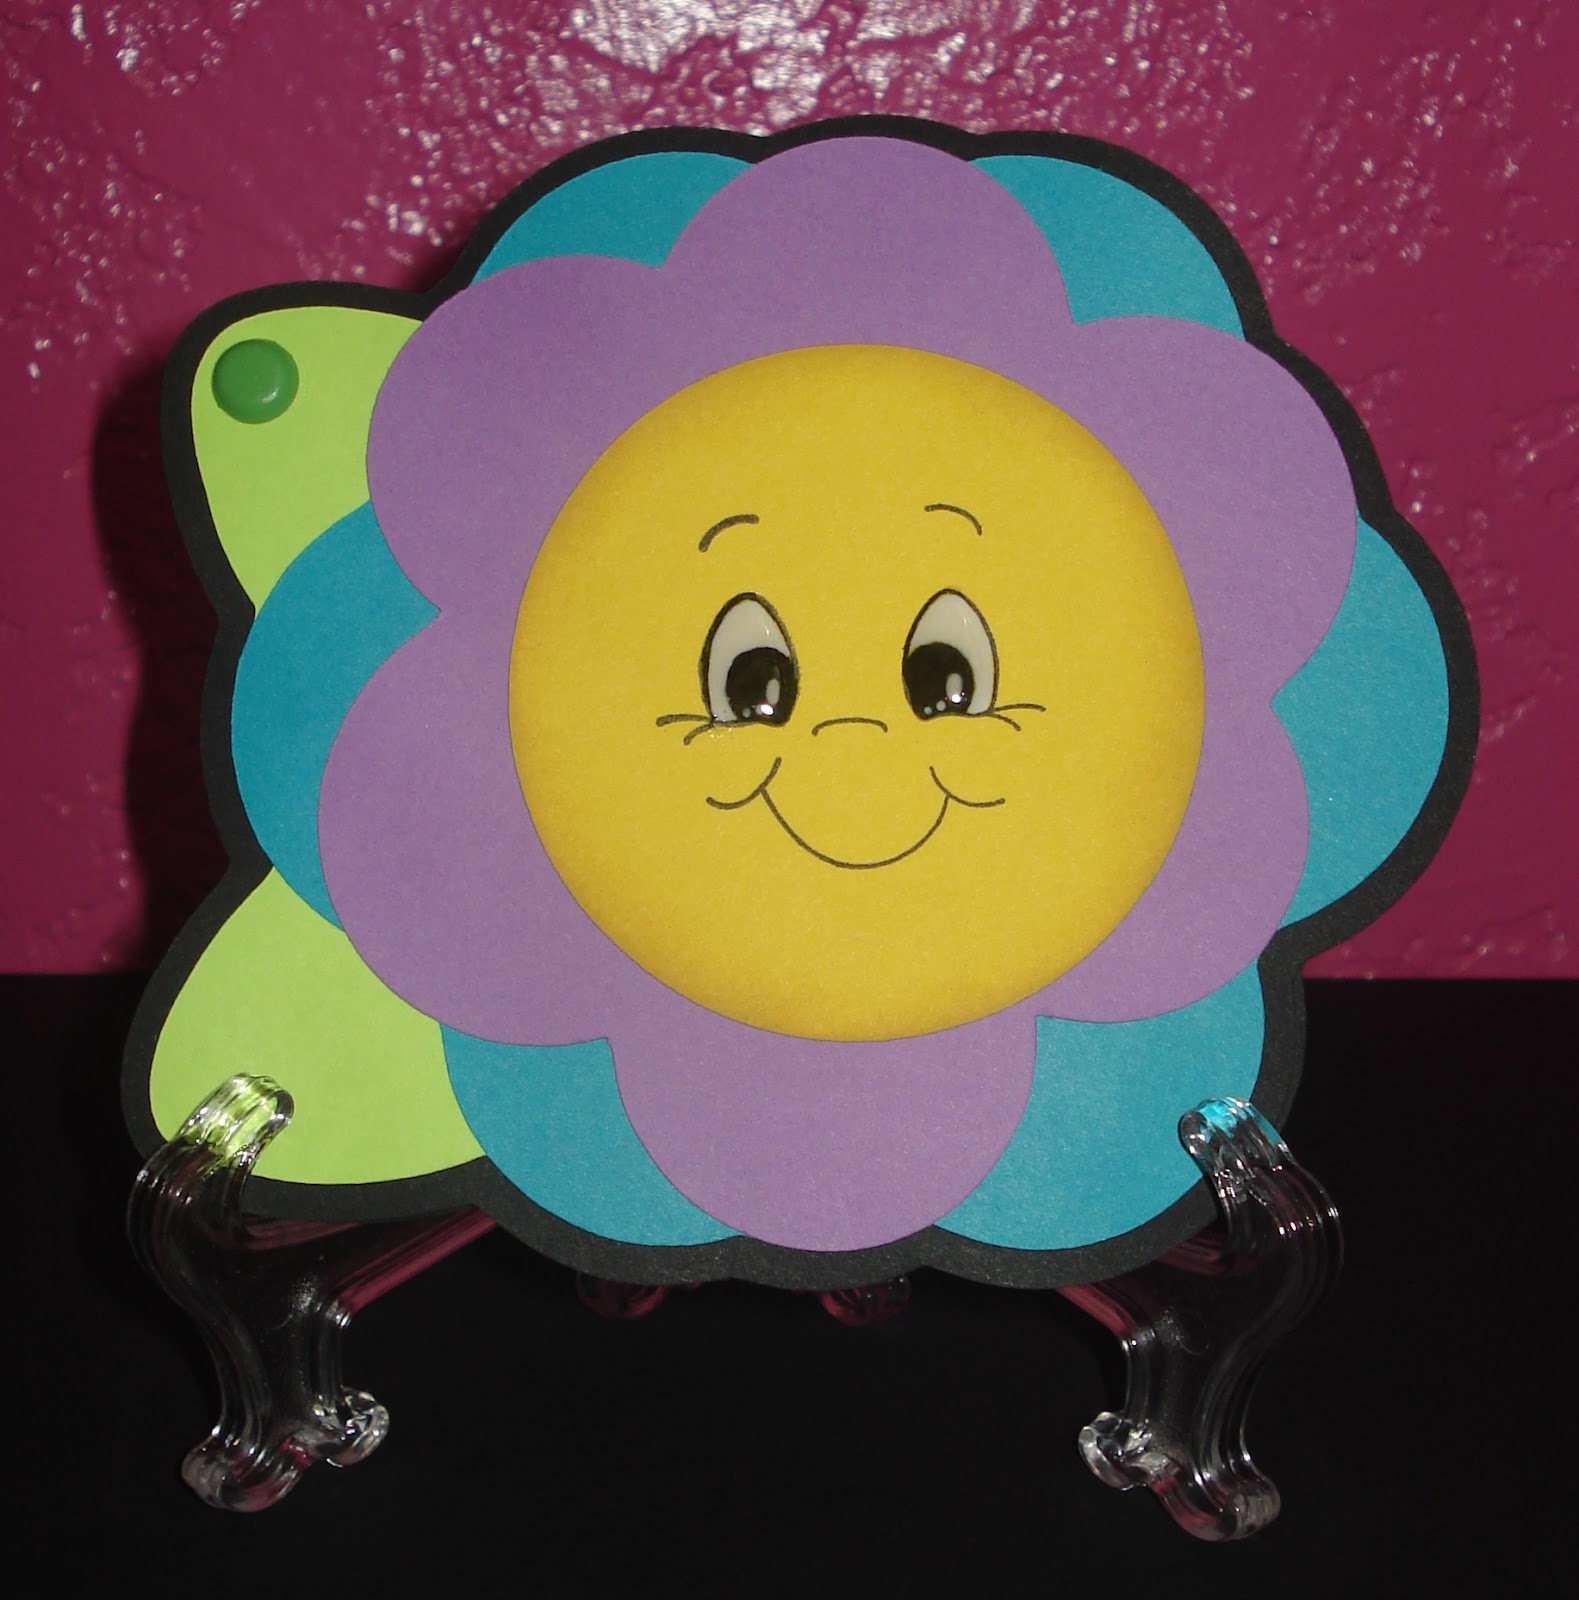
Project Sunshine and Smiles: Flower

I am excited to say that I finished making 100 cards this weekend for the  Sunshine and Smiles project hosted by Erica! I am going to continue making some more because I really want Erica to reach her goal of 5,000 cards. You still have time if you would like to help. Just visit her website for more information.
Materials used:
Cartridge: Simply Charmed (flower cut at 7 1/4 inches)
Stamp: Everyday Character Face Assortment by Peachy Keen Stamps
Other: Antique Linen and Dusty Concord Tim Holtz Distress Ink by Ranger
           Glossy Accents by Ranger (used it on the eyes)
Cards made so far for Project Sunshine and Smiles: 96

Sunday, August 7, 2011

Project Sunshine and Smiles: bear hugs

Last card for this week.

Materials used:
Cartridge: Sugar and Spice (bear cut at 3 3/4 inches)
Stamps: More Punny-licious by My Pink Stamper
              Critter Faces (large) by Peacy Keen Stamps
Cards made so far for Project Sunshine and Smiles: 92

Project Sunshine and Smiles: Cute as a button!

Materials used:
Cartridge: Sugar and Spice (lamb cut at 3 1/4 inches)
Stamp: Sweet Baby by My Pink Stamper
Cards made so far for Project Sunshine and Smiles: 88

Project Sunshine and Smiles

Materials used:
Cartridge: Sugar and Spice (owl cut at 3 inches)
Cards made so far for Project Sunshine and Smiles: 84

Project Sunshine and Smiles: You're the cat's Meow!

Materials used:
Cartridge: Sugar and Spice (kitty cut at 3 inches)
Stamp: More Punny-licious by My Pink Stamper
Paper: Simplicity by the Paper Studio
Cards made so far for Project Sunshine and Smiles: 80

Project Sunshine and Smiles: Best Wishes

Materials used:
Cartridges: Simply Charmed (rainbow cut at 3 inches)

Hello Kitty Greetings (clouds cut at 1 1/2, 2, and 3/4 inches)
Stamp: Everyday Life by My Pink Stamper

Other: D'vine Swirl Cuttlebug embossing folder
Cards made so far for Project Sunshine and Smiles: 76

Project Sunshine and Smiles: Best Wishes

Materials used:
Cartridge: Once Upon a Princess (rainbow cut at 3 inches)
Stamp: Everyday Life by My Pink Stamper

Other: Tiny Flowers embossing by Sizzix
Cards made so far for Project Sunshine and Smiles: 72

Project Sunshine and Smiles: Pinka-licious

Materials used:
Cartridges: Simply Charmed (love bug cut at 2 3/4 inches)
                   Fancy Frames (frame cut at 1 1/2 inches)
Stamp: Love-alicious by My Pink Stamper
Cards made so far for Project Sunshine and Smiles: 68